In today’s blog, we are going to create a website using Copilot, the AI-powered tool. Copilot can be useful for multiple tasks such as coding, designing, writing content, and more. It can also generate content based on our requirements, such as headlines, summaries, and captions. We shall see how to create the web pages, section text, and forms, how to generate code, and how to add the AI Chabot on web pages, all, using Copilot. As Copilot can understand the natural language, we can add the requirements on business prompts or we can select default templates that Power Pages provides for creating the website.
Please find the below steps to create Power Pages using Copilot:
1. Redirect to Power Pages Portal: https://make.powerpages.microsoft.com
2. Enter the text query that you want to create a website and click on the next button as shown in the above screenshot.
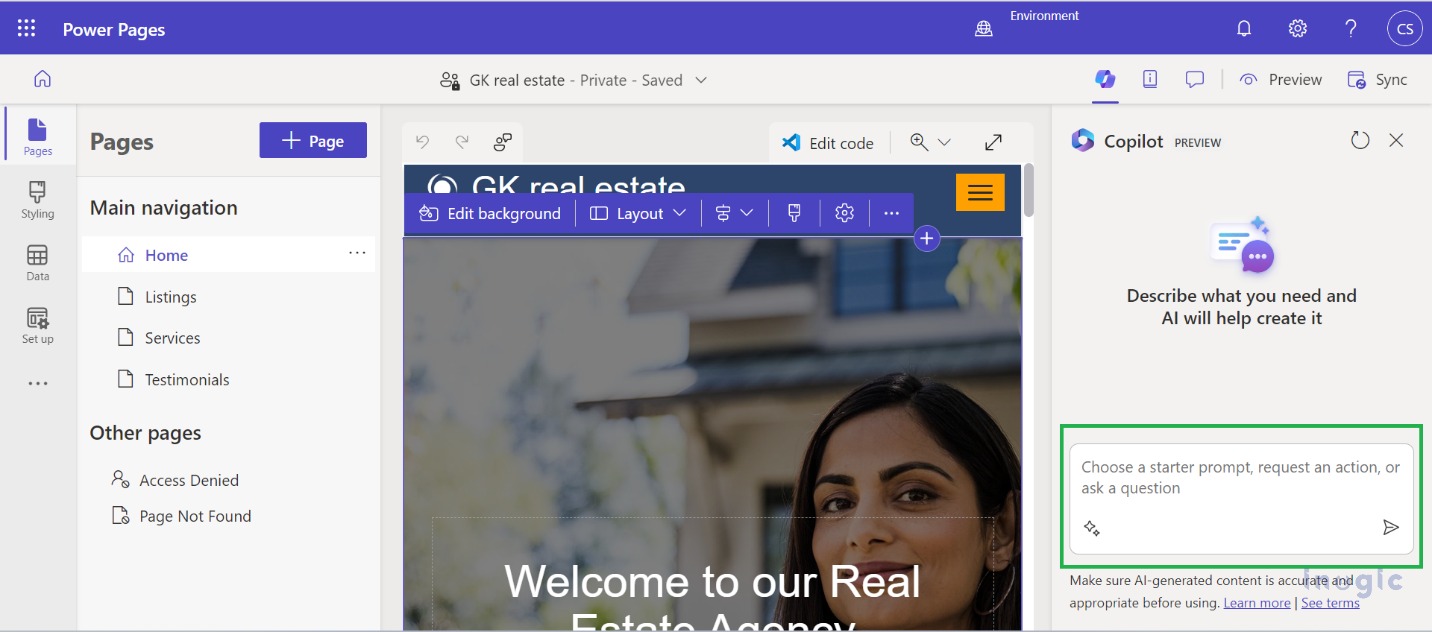
Once you click on the next button, Copilot will automatically create the basic website design. It may take a few seconds to generate the website. You can further edit, and add new web pages as per your requirement in the website by using Copilot. To make these changes you will get the help of the AI Assistant of Copilot, which you will get while designing the website as shown in, the below screenshot. You just simply enter your query into AI Assistant in a human-readable language it will create the respective website component and into a website.
We can add website subcomponents such as web pages, sections, forms, and website content by using Copilot. Please find some examples of website components, which were created by Copilot.
Add a web page
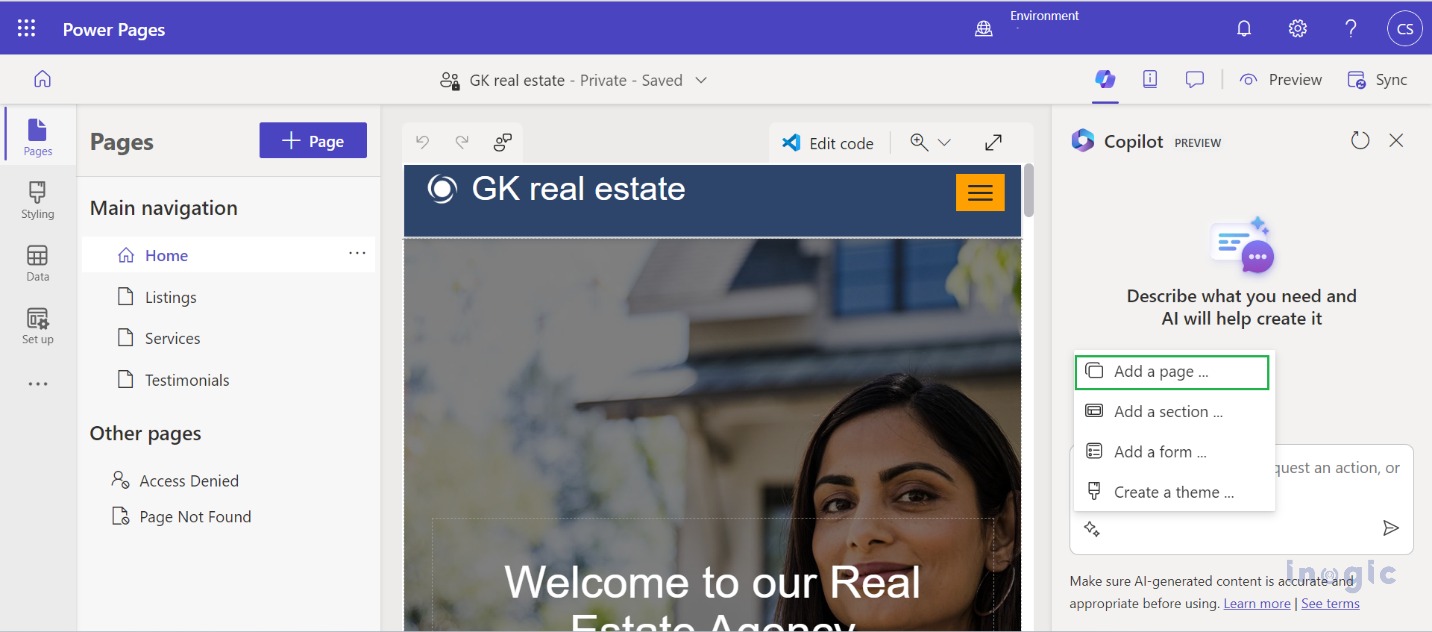
To add a web page Click on the “Add a page” option as shown in the screenshot below and enter what kind of page you want to add to your website.
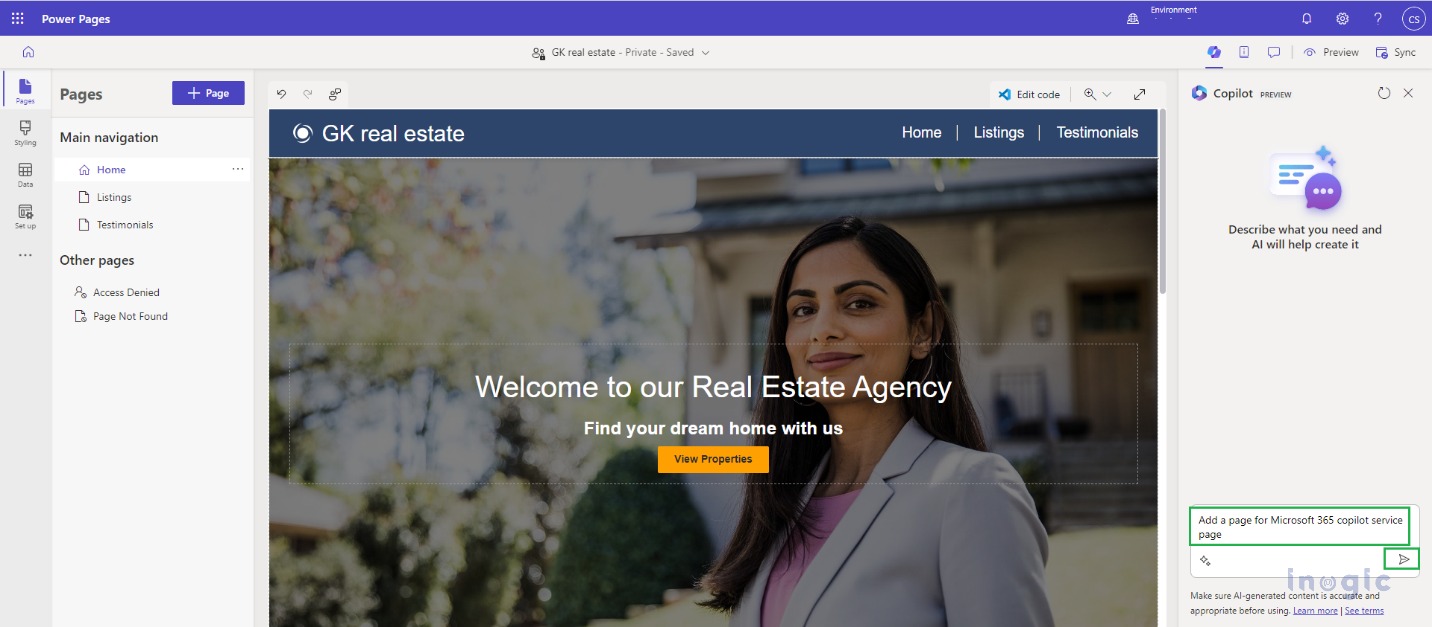
After entering the query click on the next button and the copilot will generate a relevant solution as per your description, and your page will be displayed on the main navigation. Power pages also provide the relevant code snippets with custom CSS for every web page, you can edit or add any HTML, CSS Javascript.
Add Section
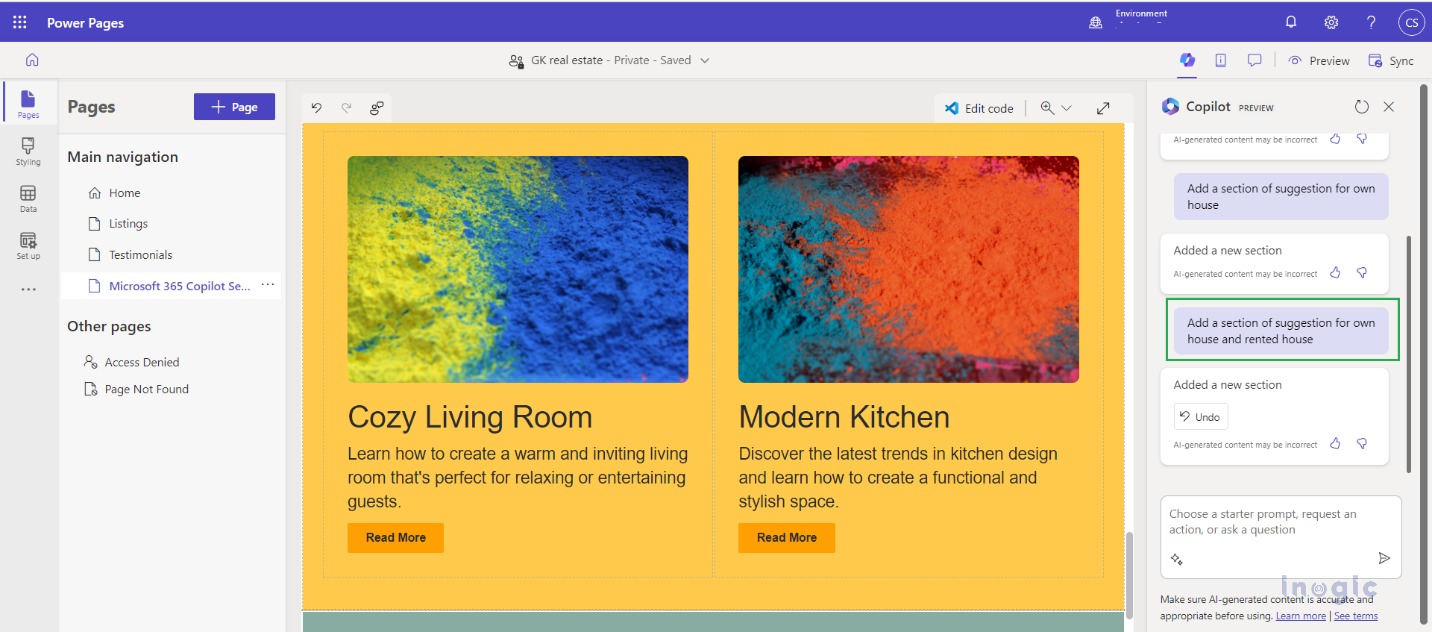
Copilot enables us to add a new section as per our demand, we have to just write content, and Copilot will automatically generate a section as per our description. Let’s take one example i.e. “I want to add sections that contain the information about the houses”. If we execute this query on AI Assistant Copilot will generate the sections, which contain specifications of houses along with their information.
Generate content for the Text area
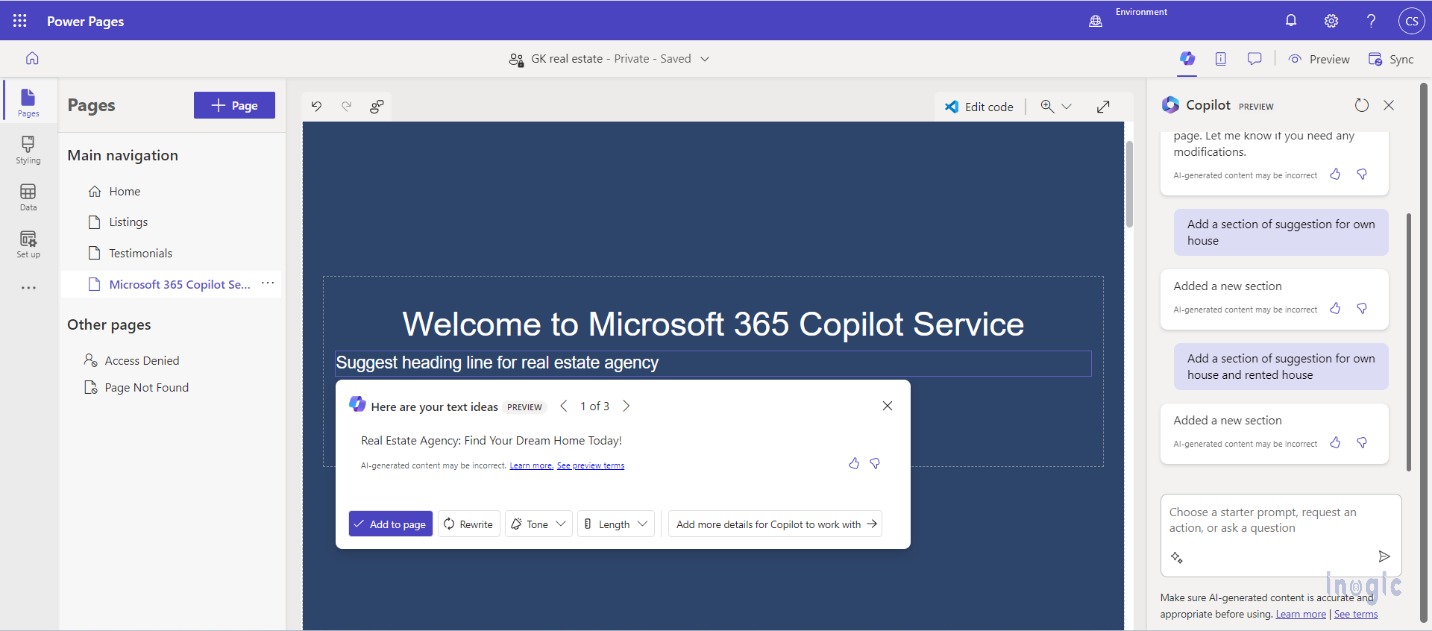
Copilot enables us to generate suitable content for the website, such as headlines, summaries, and more. We can customize the text snippet as per your choice by changing the words, tone, and more. Copilot will also show you a preview of how the text will look on your webpage. This can be achieved by using AI Prompt as shown in the screenshot below which will help us to generate appropriate website content with customized parameters. Let us take one example we want to give a proper headline for a Real Estate Agency website, so we write a rough text and then copilot customize the text.
Create forms
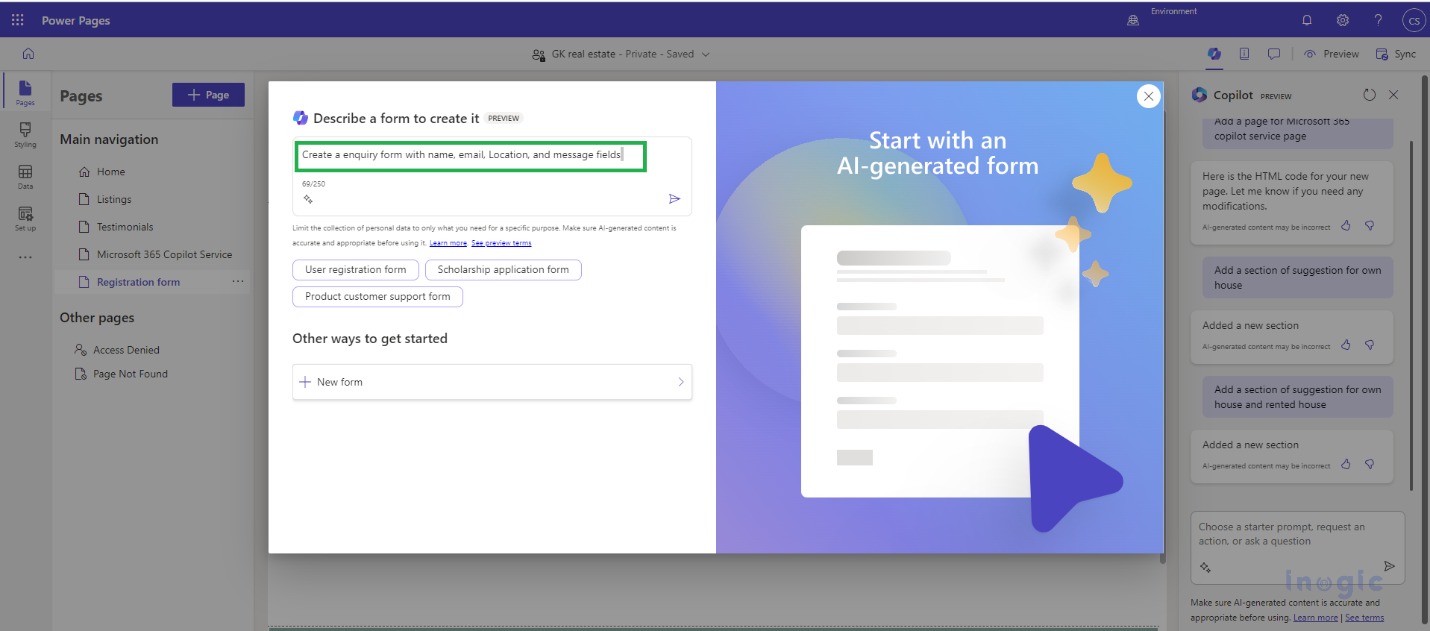
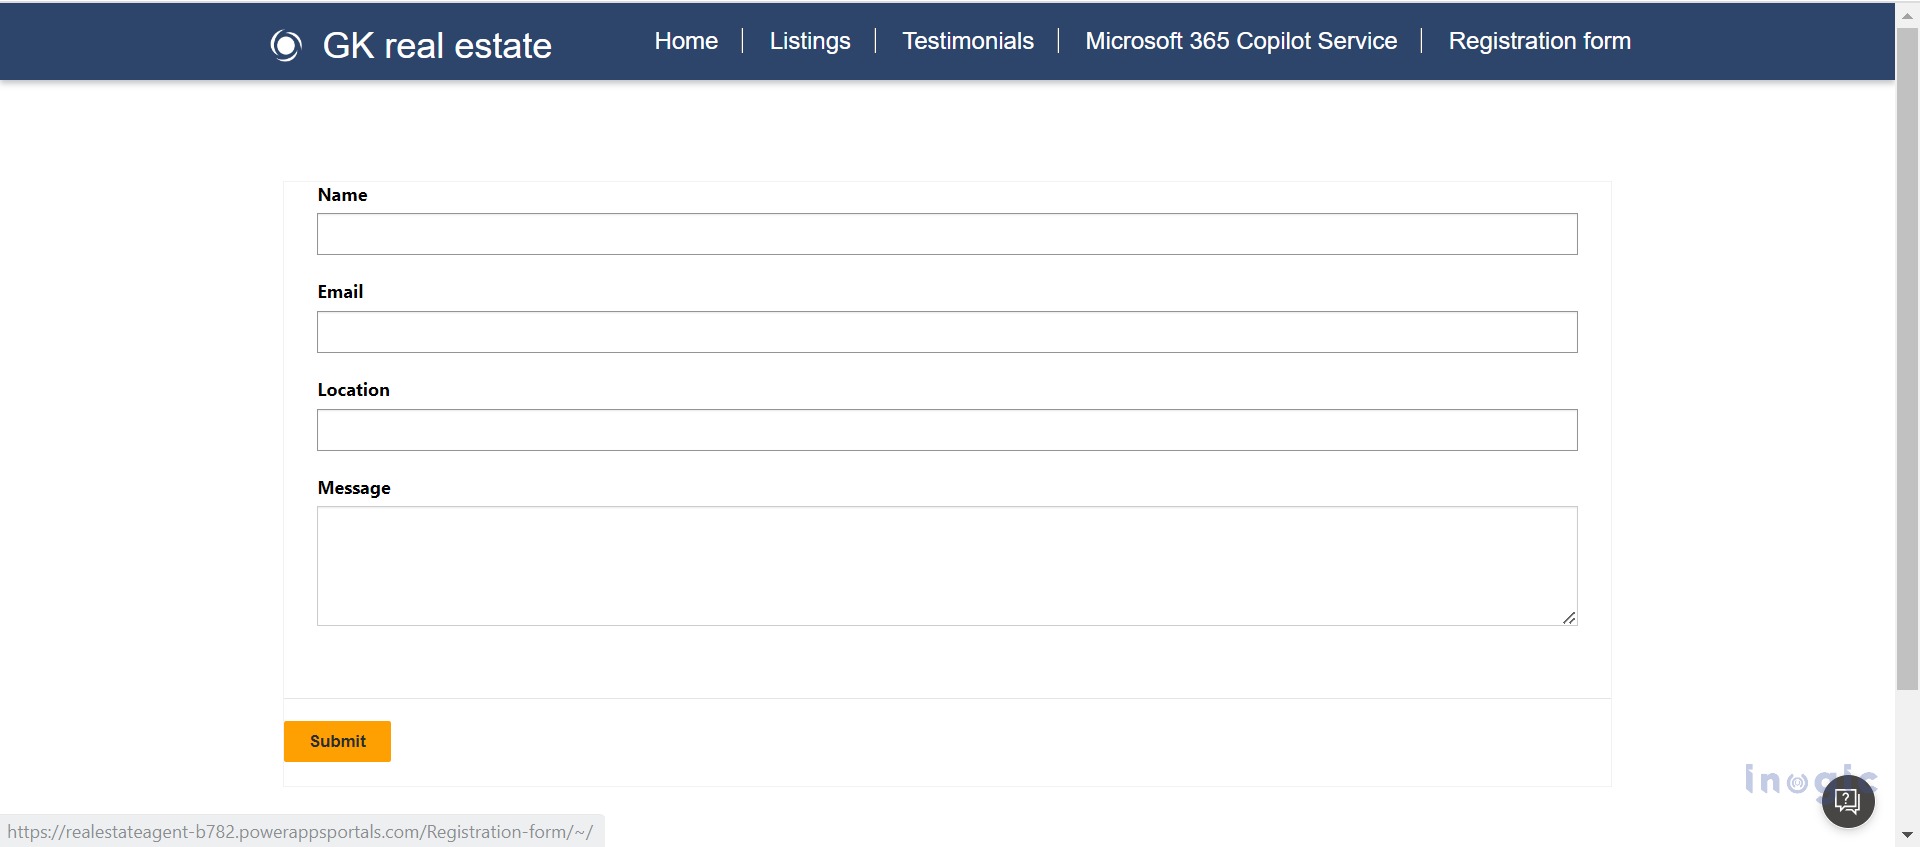
Copilot enables us to generate forms for our website, such as registration forms, contact us forms, and survey forms. The power page will provide a code snippet for the form also. While creating a form you can also add, or delete any field in the form. Here we can take the example of creating an inquiry form that has a name, location, and message field. For this, you need to simply type “Create a form” in AI Assistant; it will open the form description dialog box as shown screenshot below which helps us to generate a form using copilot. After that you need to type the form query in the dialog box and click on the next button it will create and add a website form on the website.
After adding all the above website components the Copilot website will look as shown in the screenshot below:
Conclusion
Using Copilot, we can create a website conveniently and even create a sub-component of a website using a low code process.
